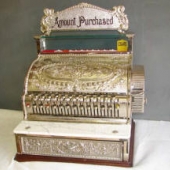
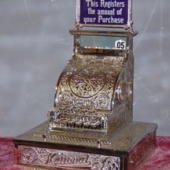
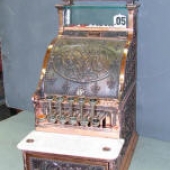
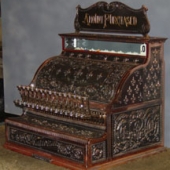
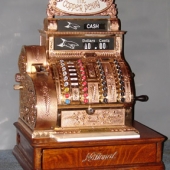
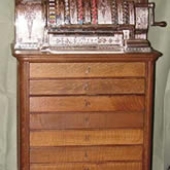
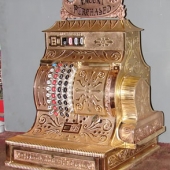
When you think “keys” on an antique brass cash register, you are either thinking of the keys used to operate the register or the keys that unlock the locks on the register. On this page, we will attempt to explain both to you. If you have any further questions, please contact us.
Operating keys
There are three ways that antique cash registers were operated: push-key, crank, and operating button. So, here they are:
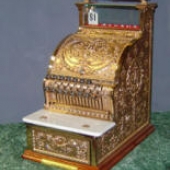
Push-Button Registers
This is very simple, right? You push a key, the flag pops up and the drawer opens. At least, this is what should happen. Please keep in mind that these are brass cash registers made with all cast iron insides. They are not computers. You need to firmly press the key down. Should the key get “stuck” halfway, you need to firmly grasp the key and see if you can complete the cycle. If you have the brass case off of the register, do NOT operate the register without the comb piece that keeps the keys in alignment.
If you cannot move the key at all, the register is either jammed or locked. Most likely, because the register has not been greased or oiled in over 100 years, it is “jammed”. You can take out the dust cover under the front lid and liberally spray the mechanism with WD-40. If this does not work, you can contact us and we can attempt to offer further assistance. Please refer to the locks section of this page for a description on if your register is locked.
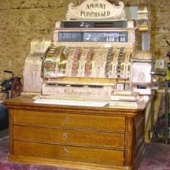
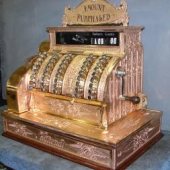
Crank Registers
The easiest way to remember to operate a crank register is to push a key in each row, then operate the crank. To turn the crank, first push the crank away from you until it stops and then towards you. Most of the crank registers operate this way. If you don’t care to push a button in every row, you just need to make sure that if your register has a row of letters, that you push a button in that row. Some 500 class registers also require you to pinch the pinch lever on the left, and if desired slide the pinch lever up or down so the appropriate drawer will open.
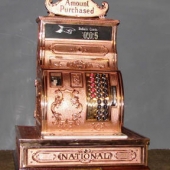
Operating Button Registers
The 1000 class registers are operated differently yet. These registers were invented so that you could operate the register without using your hands. For instance, if you had a business where your hands were dirty most of the time, i.e., a restaurant or auto shop, you could push all of the buttons with your elbow. Again, you need to push a button in each row, then push the large silver operating button on the right side. If you don’t care to push a button in each row, just make sure you push a letter button on the left. This principle also applies to some Hallwood and American registers, which have a large round operating button rather than a large rectangle button on the right.
Locks
All of the locks on the brass cash registers have a number stamped into the brass right next to the lock. It may take a little bit of searching to find the number, but it is there. We have most of these keys available for sale. Here we will describe generally what each lock does on the registers. The description of the locks applies only to National Cash Registers.
Push-Button Registers
#1 lock – The #1 lock is located on the front curved lid of the register. This lock locks the lid, and prevents it from being lifted up.
#2 lock – The #2 lock is located on the left side of the register. This locks and unlocks the keys of the register and keeps the register from being operated. In the locked position, the keys cannot be depressed.
#3 lock – The #3 lock is also located on the left side of the register, and turns the bell on and off. This lock looks like a squiggle. It is also made of aluminum, and most of the time is broken and does not work. The HBAC Group recommends you do not mess with this lock, especially if the bell is working.
#5 lock – If your register has a printer on the right side of the register, the #5 lock is located next to the printer. This unlocks the printer door so it can be opened. While the printer mechanism works, however, you can no longer get the supplies to run the printer. The paper was a thick ticket-stock paper that was pushed through the register rather than pulled through the register. You can no longer get the paper, and today’s paper will jam the register.
Reset key – This lock is located under the front lid of the register next to the main dollar/cents counter. The key resets the counter back to zero. If you start to reset the counter back to zero, do not stop halfway, finish the cycle back to zero before you attempt to operate the register.
You may also notice a “keylock knob” under the front lid of the register. This knob only turns about 1/8 of a turn. In one position, you need to shut the drawer between transactions. In the other position, you can leave the drawer open between transactions.
Crank and Operating Button Registers
A lot of the keys are the same for these registers, so the description is the same.
#1 lock – The #1 lock is located above the crank on the right side of the register. This opens the window covers over the counters.
#2 lock – The #2 lock is located above the crank on the right side of the register. This locks your register.
#3 lock – Some of the crank registers have a #3 lock on the back of the register. This key itself is the same as the #1 lock for the push-key registers. This lock acts the same as the keylock knob does on the 300 class registers.
#2/3 lock – This is commonly called the split key. The lock is located directly under the key buttons. If this lock is on your register, it serves one of two functions: It either locks the register or this lock acts the same as the keylock knob does on the 300 class registers.
#4 lock – This lock is located in the drawer of the register, most commonly on the 1000 class registers.
#5 lock – Like the 300 class registers, this lock is located on the printer door and also on motor cover doors if your register has a motor cover.
#6 lock – This lock locks the flip lids on the front of the crank registers and the 1000 class registers. All this lock does is lock those lids down so the counter can’t be seen.
You may have other locks on your register. For example, if you have a register with more than one drawer and pinch bar on the left side, there may be locks at each drawer to lock the particular drawer. You may also have a lock on the back of the cabinet that locks the cabinet door shut. Please refer to our parts list for information on the pricing of the keys.
